Did you know you can record presentations in PowerPoint? I didn’t either! But, it’s easy to record, edit, share, and upload your presentation without leaving the comfort of your home or office!
Earlier this week, I gave a presentation that I was, unfortunately, unable to record live. A few people who could not attend the seminar asked me to share the presentation slides. But, since each slide needed an in-depth explanation, I wanted to do more than share the bare slides.
That’s when I discovered the option of recording within Microsoft PowerPoint. Along with the slides, I can record myself giving the presentation and share it online easily via a link, as a presentation show, and as an MP4 video!
Here are simple steps so you can do it too!
Record Presentations in PowerPoint Using Windows
Step 1: Open Microsoft PowerPoint on Windows app

Open the presentation you want to record in Microsoft PowerPoint for Windows. If you’d like to prepare some talking points before recording, you can write a script under each slide.
Step 2: Navigate to “Record”

In the top menu, navigate to the “Record” options. You can begin to record from the beginning of the presentation or on the current slide.
Step 3: Turn on Camera and Microphone

You can allow access and/or turn on your video and microphone during the recording.
Step 4: Begin Recording

Click the red “record” button and wait as the interface counts you down from 3, 2, 1. Then, the recording will begin.
When you are finished recording, click the red “stop” button. If you wish to redo a recording of a slide, click the “redo” button left of the red “record” button.
Step 5: Click”Export to Video” or “Save as Show”

When you are happy with the recordings, you can export them as a PowerPoint show or video. If you choose “save as show,” the file will be saved and opened by others as a Microsoft PowerPoint file. If you select “export to video,” the file will be saved and opened as an MP4.
Record Presentations in PowerPoint on Mac
Step 1: Open Microsoft PowerPoint App
Like Windows, you can record presentations on the Mac app for Microsoft Powerpoint.

Step 2: Navigate to the “Recording” Menu

Click “Record Slide Show” to open the recording interface.
Step 3: Open Camera and Microphone

Open the camera and microphone to set up the recording. Make sure the lighting is good and there is minimal background noise.
Step 4: Click the Red Record Button

Click the red “record” button and wait as PowerPoint counts you down from 3, 2, 1.
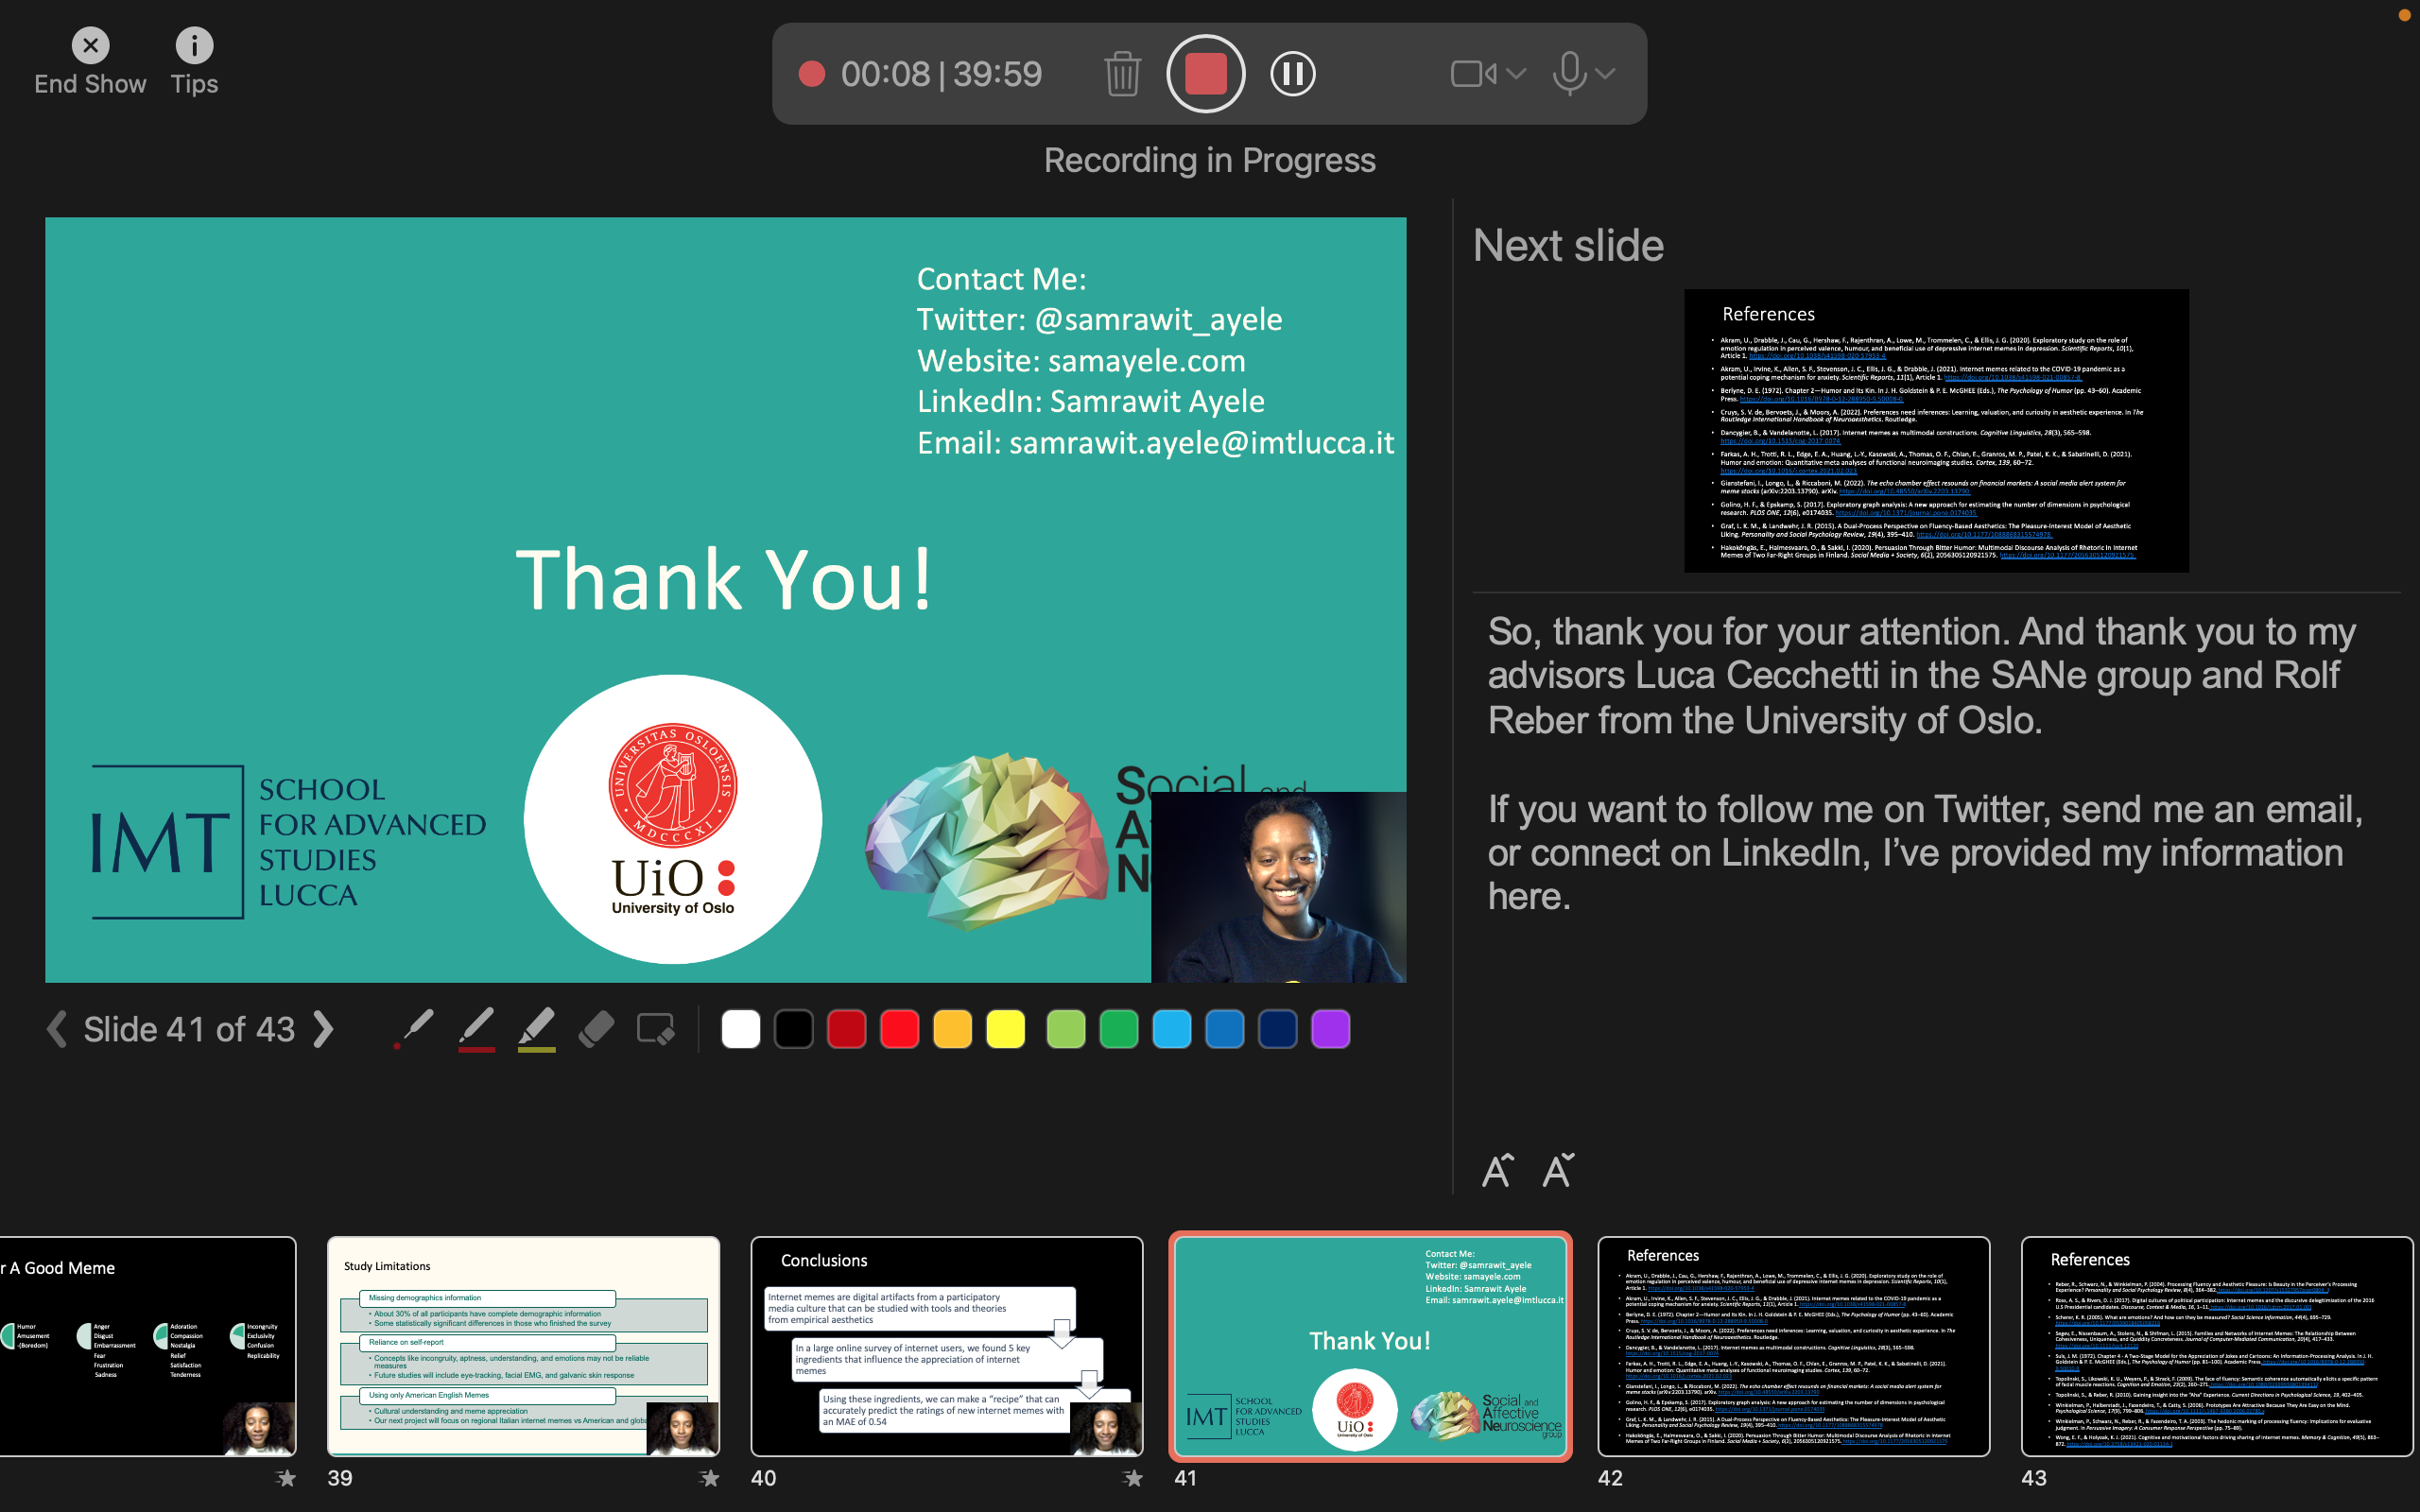
Step 5: Record Your Seminar

Record your seminar and click the red “stop” button when finished.
You can redo the recording of each slide by clicking the “trash” can and starting a new recording. You can pause a recording of the slide using the “pause” button and resuming by clicking the same “pause” button.
Step 6a: Export as Presentation Via Link

You can share the presentation as a PowerPoint show by clicking share in the top right corner of the main menu. Configure the sharing setting and then click the “copy link.”
You can give this link to collaborator, students, friends, or others who want to attend your seminar.
Step 6b: Export Via Video

To export the presentation as a video, click “File” then “Export”.
7b: Save Recording as MP4

Change the default file formation from “PDF” to “MP4”.
Depending on the length of the presentation, the video will take a while to load and will be a larger file than a PowerPoint presentation file. So, this option is best to share on streaming platforms like YouTube.
And that’s how you record PowerPoint presentations!
If you would like to see the results of my PowerPoint recording, follow this link to my seminar “Recipe for a Good Meme”:
Recipe For A Good Meme Presentation